I created a staging environment that I’m proud of, and I’d like to share it with you.
I wanted my staging environment to accomplish two things:
- Always show the latest version of the project
- Be automatically populated with dummy data
Edit: The “dummy data” strategy described below works great for small projects. For medium to large projects, check out my more recent article Why dummy data matters – and how to generate it.
The Staging Server
Accomplishing the above is easy with Forge and Laravel. The first step in setting up your staging server is simply to enable “Quick Deploy” in your app settings page. Any time a specified branch in your git repository is pushed to, Forge will run the deployment script.
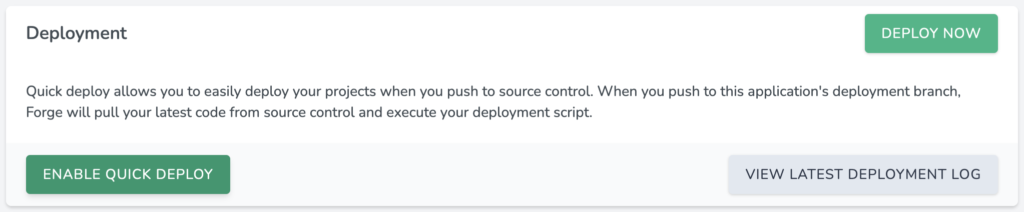
Easy. The deployment script is all that remains to configure the staging server. This is what mine looks like:
cd /home/forge/example.org
git pull origin master
composer install
php artisan migrate:refresh --seed
The line to take note of is the last one. Here we’re telling Laravel to rollback all the migrations before running them all on an empty database. Finally, the –seed flag fills our database with dummy data.
The Application
To enable our staging server set up to be so simple, we need to build our application in a particular way. Luckily, Laravel provides all the tools necessary to do this.
The crux of it is all in the testing environment, and by following the below two rules, you’ll allow yourself to easily create a modern staging server:
- Build your database as part of your tests
- Don’t rely on real data in your tests
When starting a new Laravel project, one of the first things I do is configure PHPUnit to use an in-memory SQLite database – it’s trivial, add the following lines to the php block in your phpunit.xml configuration file:
<env name="DB_CONNECTION" value="sqlite"/>
<env name="DB_DATABASE" value=":memory:"/>
Next, in my test classes that require database access, I ensure to pull in the DatabaseMigrations trait provided by Laravel:
<?php

use Illuminate\Foundation\Testing\DatabaseMigrations;

class UserControllerTest extends TestCase
{
    use DatabaseMigrations;
}
The trait ensures that a fresh database is created and migrated before every test executed in that class.
Laravel makes it easy to employ a testing strategy that creates database records on the fly using Model Factories:
/**
 * @test
 */
public function it_indexes()
{
    $users = factory(User::class, 10)->create();

    $this->get('/api/users/');

    foreach ($users as $user) {
        $this->see($user->email);
    }
}
Using this approach, your database/factories/ModelFactory.php file should grow to contain a definition for every model that exists in your application.
It’s an overhead that pays back in dividends!
Your tests returning green will always let you know that your migration files are free from bugs, and that you’re easily able to generate dummy data for you application.
The final step is to actually seed the database. At this stage, it should be very easy to use Laravel’s in-built helpers to generate Seeder classes where you can use the familiar factory method to insert dummy records into the database. You can craft the seed data in any way you like – what I’ve found that works best is to try to include as much “real looking” data as possible.
Here’s an example of how I seed the super administrator users into the database:
<?php

use App\Entities\User;
use Illuminate\Database\Seeder;

class SuperAdminSeeder extends Seeder
{
    /**
     * Run the database seeds.
     *
     * @return void
     */
    public function run()
    {
        collect(User::$superAdmins)->each(function ($email) {
            factory(User::class)->create([
                // We'll try to derive a name from the e-mail address
                'name' => ucwords(str_replace('.', ' ', explode("@", $email)[0])),
                'email' => $email,
            ]);
        });
    }
}
Wrapping Up
With a few lines of code you can display a list of users on the login page (not to be shown on production!) to make it easy for product owners to grab an e-mail and login with a dummy account:
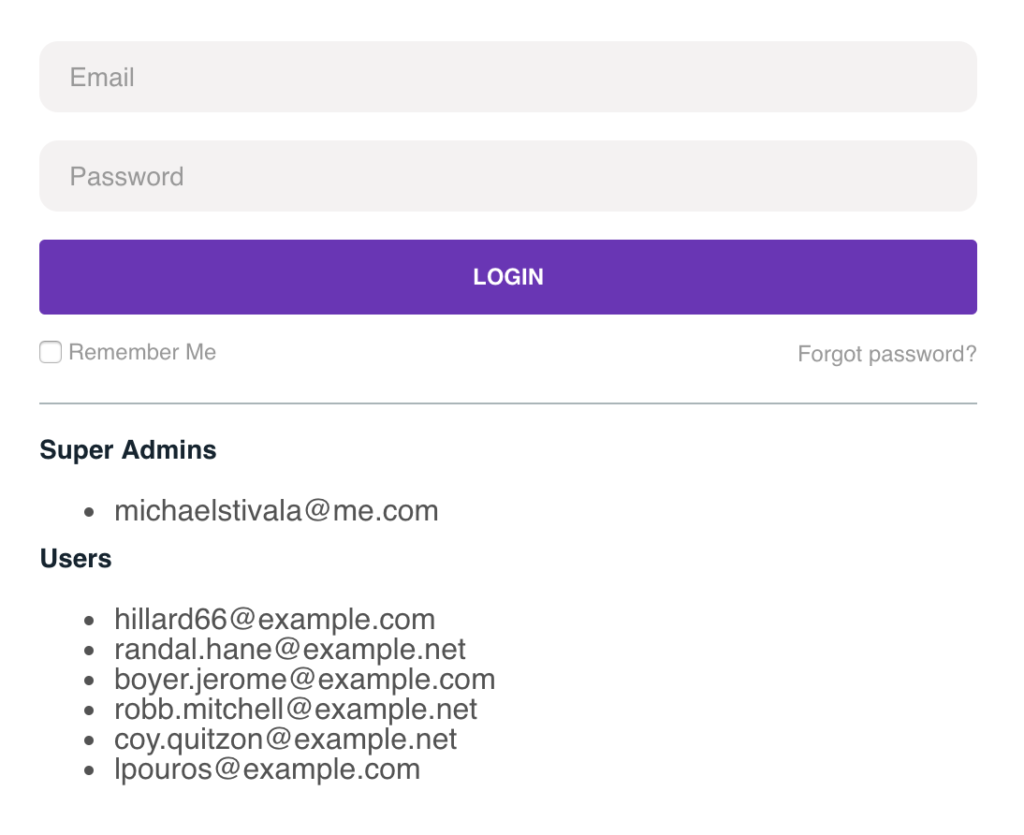
Let me know if you have any other tips for crafting your staging environment in the comments!
Leave a Reply